

Go: from zero to your own blog Lesson 17 of 50
GitHub: code that people can see
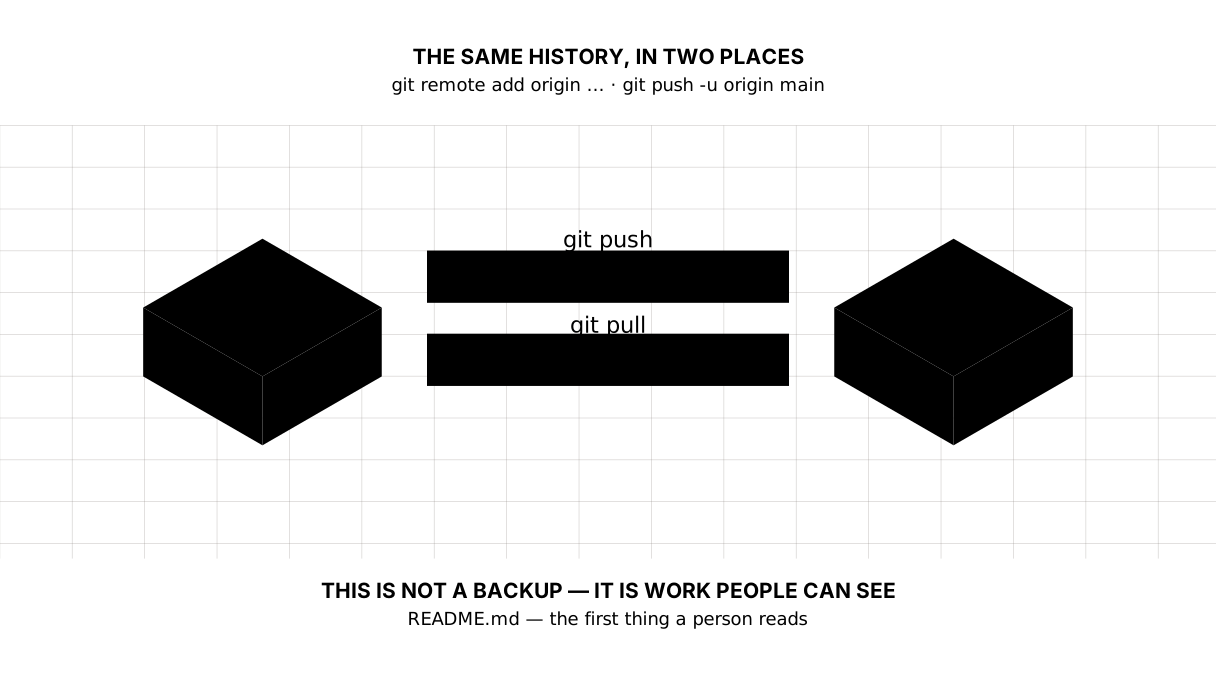
The seventeenth lesson of the Go course. GitHub is not a backup but the same history, made visible to other people. An account and a first repository, git remote and git push, why a password is no longer accepted there and what replaced it, the README as the first thing a person reads, and the things that must never be published anywhere public.
Why this matters
You already have a history — it sits in the .git folder on your computer. Lose the computer and you lose it.
But a copy on the network is not only for that. Your code becomes visible. An employer will not take “I did a course” on trust; they will open your GitHub and see in a minute what you wrote, how often, and how clearly you explained your changes. That is a developer’s CV — not a list of courses but forty records with sensible messages.
Picture it. Not a safe but a shop window. A safe hides things and keeps them. A window keeps them too — but it can be seen from the street, which is the whole reason anything is put in it.
The whole thing at once
If an account is not allowed or not wanted, skip this paragraph. GitHub requires a user to be at least 13, and older where your country’s law says so; that is written in its terms, and complying is your responsibility. The lesson works end to end without an account: there is a “Without an account” section below, and not one command changes.
Create an account at github.com — an email, a name, a password. Choose the name calmly: it goes into the address of your projects and into your CV, so daulet-b beats kotik2007.
Then a new repository: the New button, the name go-oqu, public, and do not add a README, a licence or a .gitignore — you already have files, and an empty starter would collide with your history later.
GitHub will show you a few commands. These are the ones you want:
git remote add origin https://github.com/YOUR-NAME/go-oqu.git
git branch -M main
git push -u origin main
Refresh the repository page: your files and the whole history are there. From now on, after each record, one command is enough:
git push
Buttons on the site move around over time; these commands have not changed in years. If the page looks different from the description, do not hunt for the button — look for the git remote add line, which GitHub always shows on an empty repository.
Taking it apart
What GitHub is, and what it is not
Git is a program on your computer. GitHub is a website that keeps a copy of the repository and shows it to people. They are different things, and Git works perfectly well without GitHub.
So “putting it on GitHub” does not mean “saving it”. git commit saves, on your machine. git push only sends what has already been saved.
remote, push and pull
origin is a name for the address of your repository on the network. The name is a convention, nothing more.
git push sends your records there. git pull brings back what you do not have — you will want it when you work from two computers, or when somebody else makes changes.
The -u flag in the first command says “remember that this branch goes there”. After it, a bare git push is enough.
Without an account: your own “server” in a folder next door
Git does not know the word “GitHub”. To it a remote repository is an address, and an address can be an ordinary folder: on a disk, on a memory stick, in a cloud folder.
git init --bare -b main ~/blog.git
--bare means “a repository with no working files”: history only. That is what sits on a server — you push to it and clone from it, but you do not work in it.
-b main is not decoration here. Without it the bare repository keeps the default branch master while you push main. The push raises no error, but the clone later says:
warning: remote HEAD refers to nonexistent ref, unable to checkout
and an empty folder arrives. That is hard to work out the first time, so the branch name is set up front.
After that, the same commands, word for word:
git remote add origin ~/blog.git
git push -u origin main
You can check that the history really left the same way another person would — by cloning it:
git clone ~/blog.git ~/blog-copy
ls ~/blog-copy
main.go
A memory stick works the same way; only the path changes: /Volumes/USB/blog.git on a Mac, E:/blog.git on Windows. And that one is a real backup — it is not on the disk you work on.
What this cannot do: hand someone a link to your code and take a correction back from them. That is what GitHub is for — when you are allowed one.
The main branch, and what -M is for
You typed git branch -M main without asking what it was. Let us ask on your behalf.
A branch is a name for a line of records. A project can have several: the main one and, say, one where you are trying a risky change. For now one is enough.
The default main branch used to be called master and is now main, and main is what GitHub expects. The -M command renames your current branch to main if it was called something else. If it is already main, the command simply does nothing.
A password is no longer accepted there
If you try to sign in with your website password, GitHub will refuse — it has been that way since 2021. There are two ways instead; take either:
A token. In the GitHub settings you create a long string — a personal access token — and enter it in place of the password on the first push. The system remembers it in the key store.
An SSH key. Once, you run ssh-keygen -t ed25519 -C "your@email", open the file it made at ~/.ssh/id_ed25519.pub, copy the contents and add them under SSH keys in the GitHub settings. After that the repository address is taken in the form git@github.com:name/project.git, and you are never asked for a password again.
Picture it. A pass for one door instead of the key to the whole flat. A password opens your entire account. A token can be issued for only what is needed and revoked without changing anything else.
A beginner will find the token easier to start with, and can set up SSH once typing it gets tiresome.
README — the first thing a person reads
GitHub shows the README.md file straight away on the repository’s front page. A repository without one looks like a pile of somebody’s files; one with a README looks like work.
Three paragraphs are enough:
# go-oqu

My solutions to the lessons of the course "Go: from zero to your own blog".

## How to run it

    cd sabaq-05
    go run .

## What is done so far

- lessons 1–15: the language
- the blog step by step in the blog/ folder
.md is Markdown, the same simple markup these lessons are written in: # is a heading, - is a list item.
What to do every day
The rhythm is this: you worked — git add ., git commit -m "…", git push. Three commands, ten seconds.
Sat down at another computer — git pull first, then work. Forget, and Git will refuse to send and tell you to fetch the other changes first; that is not a breakage but a safeguard.
What must never be published
A public repository is seen by everyone, including programs that search other people’s code for passwords around the clock. They will find one in minutes.
So: no passwords, no keys, no .env files — their place is in the .gitignore from the previous lesson. If a password does reach the history, the password itself has to be changed, not just the file: the record stays in the history after the deletion.
Picture it. The sign on a workshop door. Whether it is tidy inside is judged by what can be seen from outside. And nobody writes their house keys on the sign.
The lesson map
Say it in your own words
Without looking, answer out loud or on paper. The answers are at the end of the lesson.
- How does
git commitdiffer fromgit push? - Why does GitHub not accept a password, and what is used instead?
- Why does a public repository need a README when the code is visible anyway?
Exercise
Required — the no-account version. Make a bare repository in a folder next door (git init --bare -b main ~/blog.git), push the history to it, clone it into another folder and confirm the files are there. Write a README.md in three parts — what this is, how to run it, what is already done — and send it as a separate commit.
Required — the account version. Put your lessons repository on GitHub: an account, a new public repository, git remote add origin …, git push -u origin main. Write a README.md with three parts — what this is, how to run it, what is done so far — and send it as a record of its own. Open the repository’s address in a browser and check that the README shows on the front page.
Optional.
- Set up an SSH key and change the repository address with
git remote set-url origin git@github.com:…. - Make a record, send it, and look at the commits tab on GitHub to see how your message reads from outside.
- Find Go’s own source on GitHub: github.com/golang/go. Look at what their commit messages are like.
Where this goes in your blog
This is where the second half of the course’s promise begins. The blog you write will work fully on your own computer — but if you want to show it to the world, free hosts can take the code straight from GitHub: connect the repository and the site updates itself on every git push.
The only thing you pay for is your own domain name. Everything else — the code, the history, the hosting — is free.
Answers
Show the answers
git commitrecords a state into the history on your own computer — that is the saving.git pushsends what was recorded to the copy of the repository on GitHub. Without acommitthere is nothing to send.- The website password opens the whole account, and GitHub stopped accepting it for working with code in 2021. Instead there is a personal access token, which can be issued for just what is needed and revoked, or an SSH key, after which no password is asked for at all.
- Because the code shows how something was done, while the README answers the questions that come first: what this is, how to run it, what is already here. A person reads it first and decides from it whether to look further.
Sources
If you have found a mistake or a typo in this article, tell us about it
Comments (0)
Log in to leave a comment →
No comments yet. Be the first.