


Physics around us: from a first experiment to your own lab Lesson 20 of 28
Draw and measure force: arrows and a spring scale
Make direction, point of application, and newtons visible.
One cart, one story
We continue the cart story from Motion and Graphs. Now ask not only “how did it move?” but “which objects changed its motion?” Link each new word to a visible scene before using an equation. Numbers on the support map are given teaching values, not a replacement for your own measurements.
Pushing a door near its hinges and near its handle feels different. For a cart on a straight track, simplify the picture: draw an arrow from the cart in the direction of a force. That arrow is not the path it travelled. It helps us keep track of what acts now, even if the cart happens to be moving the other way.
What the words mean
A force arrow shows direction. With a stated scale, its length can show size. The point of application is where the force acts; our simple straight-line model marks it near the cart. A spring scale or dynamometer measures force on a marked scale. Check its zero and maximum first; write readings in N. Never pull a school scale beyond its rated limit.
Check the numbers and limits
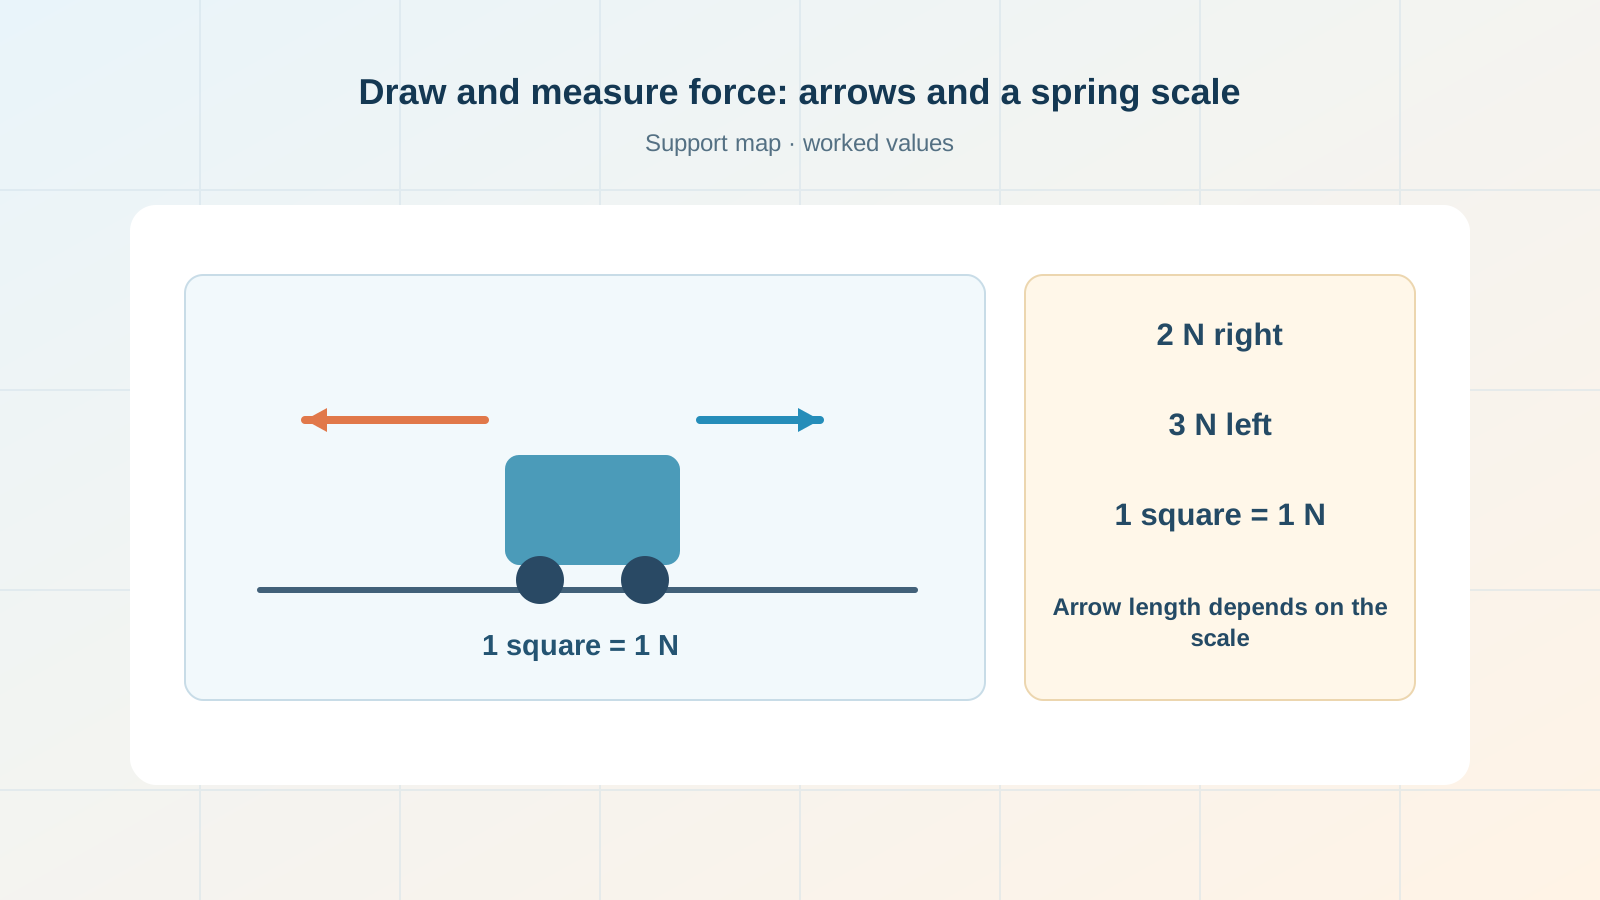
Choose a drawing scale: 1 cm of arrow represents 1 N. A 2 cm arrow right is 2 N right; a 3 cm arrow left is 3 N left. That scale applies only to this drawing. Without a real instrument these are worked values, not a measurement by hand. Keep the pull direction the same when comparing readings.
Try it yourself
Draw a small rectangle and two separate arrows: two grid squares right and three left. Label the chosen scale “one square = 1 N.” If you have a safe spring scale, check its unloaded zero and read it during a gentle pull; do not hang heavy objects. Without one, use the paper model only.
A common trap
An arrow’s length cannot measure force without a stated scale. An arrow left does not make the magnitude of force “negative”; signs appear when we choose an axis for calculation.
Support map
Check without hints
Cover the calculation. Name the object receiving forces, their sources, and the chosen positive direction. Rebuild the arithmetic with units. Change one given number and explain which conclusion changes. If you did not run a real trial, write “worked model” in your notebook.
Notebook entry
Write four lines: “What did I see?”, “What was given?”, “What did I calculate?”, and “Which assumptions does this conclusion need?” This separates observation from model and lets you revisit an error later.
If you have found a mistake or a typo in this article, tell us about it
Comments (0)
Log in to leave a comment →
No comments yet. Be the first.