

Python: from data to your own digest Lesson 2 of 56
A workplace: Python, the project's environment and the first run
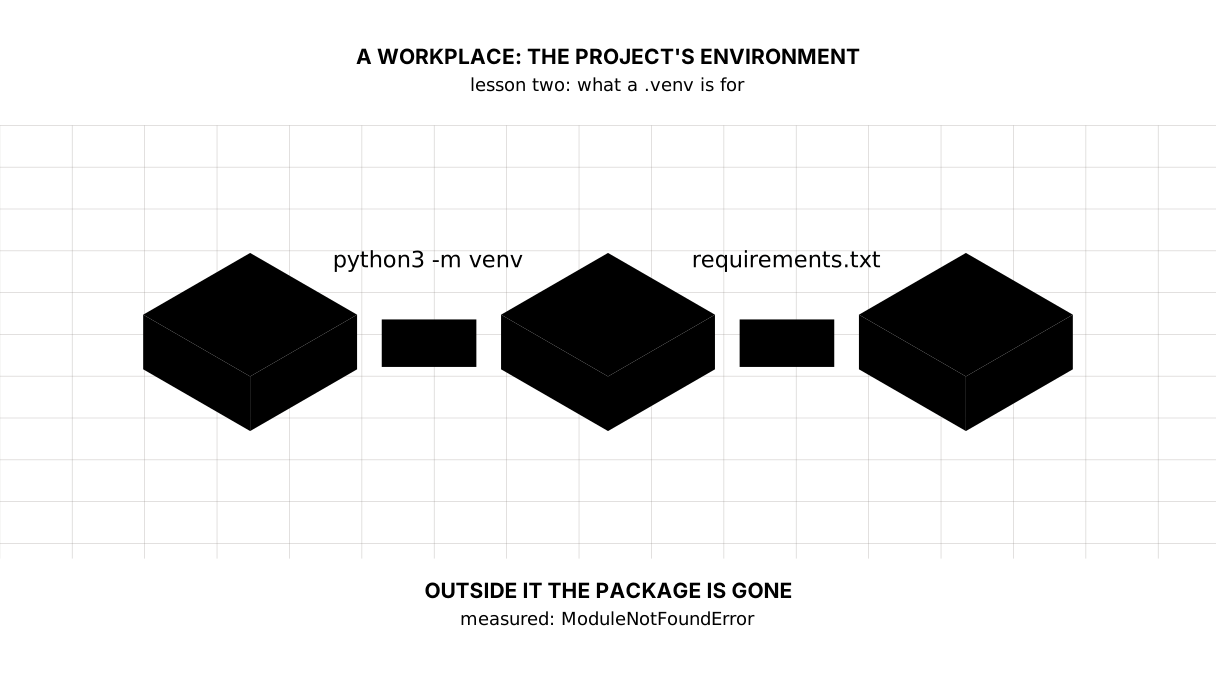
The second lesson of the Python course. We install the language, create the project's environment and move yesterday's program into it. Measured: a package installed into the environment is invisible outside it — `ModuleNotFoundError` — which is exactly what an environment is for. The `.venv` folder weighs 17 MB and never goes into the repository.
Why this is needed
Yesterday’s program ran on bare Python: nothing had to be installed. But within a few lessons we will need other people’s libraries — for requests, for tables, for charts. And this is where a beginner meets the first real unpleasantness.
A library is installed into the system. Then another, for another task. Then they are upgraded. Then something that worked for half a year stops starting, and it is not clear what exactly did it. On other people’s machines this story ends with reinstalling the system.
One habit cures it: every project gets an environment of its own. Today we make one and make sure it really is separate.
The whole thing at once
Everything below is the terminal. Type it line by line; the $ is the shell’s prompt and is not typed.
$ python3 --version
Python 3.14.5

$ python3 -m venv .venv          # create the project's environment
$ source .venv/bin/activate
$ python -c "import sys, pathlib; print(pathlib.Path(sys.executable).relative_to(pathlib.Path.cwd()))"
.venv/bin/python

$ python -c "import sys; print(sys.prefix == sys.base_prefix)"
False                            # we are inside the environment

$ python -m pip install requests
Successfully installed certifi-2026.7.22 charset_normalizer-3.5.1 idna-3.19 requests-2.34.2 urllib3-2.7.0

$ python -c "import requests; print(requests.__version__)"
2.34.2

$ python -m pip freeze > requirements.txt
$ cat requirements.txt
certifi==2026.7.22
charset-normalizer==3.5.1
idna==3.19
requests==2.34.2
urllib3==2.7.0

$ deactivate                     # leave the environment
$ python3 -c "import sys; print(sys.prefix == sys.base_prefix)"
True                             # back in the system
$ python3 -c "import requests"
Traceback (most recent call last):
  File "<string>", line 1, in <module>
    import requests
ModuleNotFoundError: No module named 'requests'

$ printf '.venv/\\n__pycache__/\\n' > .gitignore
$ du -sh .venv
 17M    .venv
The patch version, the library versions and the size of .venv will be different for you — they change every month. What matters is not the numbers but what happens.
On Windows some of the commands look different. The Python ones are the same; the ones that talk to the system are not:
| What we do | Windows PowerShell | macOS and Linux |
|---|
| start the language | py | python3 |
| create the environment | py -m venv .venv | python3 -m venv .venv |
| enter the environment | .venv\Scripts\Activate.ps1 | source .venv/bin/activate |
| look at the files | Get-ChildItem -Force | ls -a |
| write .gitignore | Set-Content .gitignore ".venv/n__pycache__/"|printf ‘.venv/\n__pycache__/\n’ > .gitignore| | look at a folder's size |(Get-ChildItem .venv -Recurse | Measure-Object Length -Sum).Sum/1MB|du -sh .venv` |
In PowerShell the very first activation can run into a ban on running scripts. It is cured once: Set-ExecutionPolicy -Scope CurrentUser RemoteSigned, and it is written up in the venv documentation.
Taking it apart
First check that the language is there at all
python3 --version is the first command of any day. Answered with a number — the language is installed. Answered “command not found” — install it:
- Windows: open python.org, download the installer and be sure to tick “Add python.exe to PATH” on the first screen. Forgot it? Reinstall; that is quicker than repairing.
- macOS: take the installer from python.org — it asks for nothing to be installed first. If you already have Homebrew,
brew install pythondoes the same. Better to leave the Python that came with the system alone: macOS itself uses it. - Linux: it is almost certainly there already; if not,
sudo apt install python3 python3-venvor the same through your package manager.
Any version from 3.12 will do: on 3.12 and 3.13 every program in the course is checked to compile. The course is written and measured on 3.14, and Python’s own messages differ a little between versions — if your output differs from the lesson in the text of an error, that is usually why.
What an environment is and why it lives in the project
python3 -m venv .venv creates a .venv folder inside the project. Inside it are a python of its own and a place of its own for libraries.
The .venv/bin/python line in the output confirms it: after activate, the word python means not the system interpreter but the one lying in your project. Nothing was “configured globally” — only a path changed.
Picture it. A first-aid kit of your own in the car rather than the shared one in the yard. In the shared one the bandages run out, or somebody leaves something expired; yours is always the way you packed it.
The proof this was all for
Look at two pairs of lines.
The first pair is about where you are. sys.prefix is the folder the interpreter runs from, and sys.base_prefix is the folder of the system Python. Inside an environment they differ, so the comparison gives False; after deactivate it gives True. This is the sturdiest check there is: it depends neither on what you already have installed nor on the shell’s prompt.
The second pair is about the library. Inside the environment import requests works and reports version 2.34.2; outside it the same import gives ModuleNotFoundError. A caveat: if requests was ever installed into the system, the import will succeed outside too — and that does not mean the environment is broken. Look at the first check and at the path to python instead.
That is the isolation: the library went into the project, not into the system. There is nothing left to break a neighbouring project with.
requirements.txt, the list an environment is rebuilt from
pip freeze prints everything installed in the environment with exact versions:
requests==2.34.2
urllib3==2.7.0
We saved that into requirements.txt. A year from now, on another machine, pip install -r requirements.txt assembles the same thing. Notice: you asked for requests alone and the list has five lines — the rest came with it, and that is normal.
The .venv itself does not go into the repository: 17 megabytes, different on every system, and rebuilt from the list with one command. That is why we made the .gitignore — the two-line one:
.venv/
__pycache__/
The first line is about the environment, the second about the folder Python creates by itself for compiled modules.
What the project looks like now
$ ls -a
.gitignore .venv requirements.txt tsena.py

$ source .venv/bin/activate
$ python tsena.py | head -5
== how many times prices grew in Kazakhstan
price index in 2010: 100.0
price index in 2025: 348.1
prices grew 3.48 times
1000 tenge of 2025 = 287 tenge at 2010 prices
Four names, each in its place: the code, the list of dependencies, the environment, and the rule about what stays out of the repository. Yesterday’s program runs from the project and prints the same thing.
This folder will grow — modules, a database and a report will appear in it. But the structure was set today and will not have to change.
The editor
Any will do, but if you are choosing — VS Code with Microsoft’s Python extension. One setting matters: in the bottom right corner select the interpreter, the one inside .venv. Then the editor suggests from the libraries you actually have rather than from ones it imagined.
Checking is easy: open tsena.py and press “Run” — the program should behave exactly as it does from the terminal.
One warning about pip
Better never to type pip install outside an environment. And better to write it as python -m pip: then the package is installed into the interpreter you are actually working with rather than into another one that also happens to be on the system. If you are unsure where you are, look at the prompt: an activated environment puts (.venv) on the left. No (.venv)? Then source .venv/bin/activate first (on Windows: .venv\Scripts\Activate.ps1).
The map of the lesson
Say it in your own words
Without looking, answer aloud or on paper. The answers are at the end of the lesson.
- What exactly does
activatechange, if nothing is installed anew? - Why is
.venvkept out of the repository whilerequirements.txtis kept in it? - How can you tell in one second that you are outside the environment?
Warm-up
Three short steps before the exercise. Today they are not about code but about the terminal: this is where a beginner loses an evening. The answers are at the end of the lesson.
1. Predict. You have built the environment and have not activated it. What will which python3 (on Windows, where python) show, and where will pip install requests put the package after that?
2. Fill in the gap. Complete the three commands so that they make a working day from nothing:
python3 -m venv .venv
...
pip install -r requirements.txt
3. Fix it. Someone complains: “I installed requests and the program says ModuleNotFoundError.” Their terminal prompt has no (.venv) in it. What happened, and what should they do?
Exercise
Required. Make a digest folder, create an environment in it, move yesterday’s program there and run it from inside the environment. Then install requests into the environment and check that you really are inside it rather than somewhere else:
import sys

print(sys.executable)                    # the path of the python that hears you
print(sys.prefix != sys.base_prefix)     # True means you are in an environment
Leave the environment (deactivate) and run the same two lines: the path changes and the True becomes False. That is the check that holds. Testing an environment by trying an import does not: requests may well be installed system-wide too, in which case the import works outside as well and you draw the wrong conclusion.
If you want more.
- Look inside
.venv:ls .venv/lib/python3*/site-packages. Exactly those five packages from the list are there. - Delete the whole
.venvfolder and rebuild it:python3 -m venv .venv && source .venv/bin/activate && pip install -r requirements.txt. That is how you check the list is complete. - Make a second project with a different version of
requestsand see that the first one is unchanged.
Where this goes in the project
The digest has a home. From now on everything we write lives in the digest folder: today one program and a list of dependencies, by the end of the course modules, a database, charts and a report.
The debts. The program still dies without the internet and fetches the data afresh on every run. We save nothing to disk yet — and data that was fetched but not saved has to be asked for again. Those are the next lessons.
The answers
To the questions
- Only the paths.
activateputs.venv/binfirst inPATH, so the wordpythonstarts meaning the interpreter from the project andpipstarts installing packages there. Nothing is installed in the process. - Because
.venvis a result: rebuilt with one command, 17 megabytes, and system-dependent.requirements.txtis the cause: five lines from which the result follows on any machine. - Look at the terminal prompt: an activated environment shows
(.venv)on the left. If in doubt,python -c "import sys; print(sys.executable)"shows which interpreter is running.
To the warm-up
-
which python3will show the system Python —/usr/bin/python3or something like it, and not a path inside.venv. Sopip install requestsworks outside the project. Where exactly it puts the package depends on the system: on Linux such an install is these days usually refused outright (externally-managed-environment), and otherwise the package lands in the user’s home directory or in the system as a whole. All three endings have one thing in common: the package will not appear inrequirements.txt, and your project will not have it. -
source .venv/bin/activate(on Windows,.venv\Scripts\activate). The order is exactly that: first the environment is created, then you step into it, and only then are packages installed — otherwise they go past it. -
The package was installed into the system while the program was run inside the environment, or the other way round. The missing
(.venv)in the prompt is the answer to the lesson’s third question: it is visible in a second. Step into the environment and install the package again, from inside it.
Sources
If you have found a mistake or a typo in this article, tell us about it
Comments (0)
Log in to leave a comment →
No comments yet. Be the first.